
Getting started with Pyre.Stream
This guide takes you from a new Pyre account to a stream that is live on two platforms at once. It should take about ten minutes, most of which is the platforms asking you to log in.
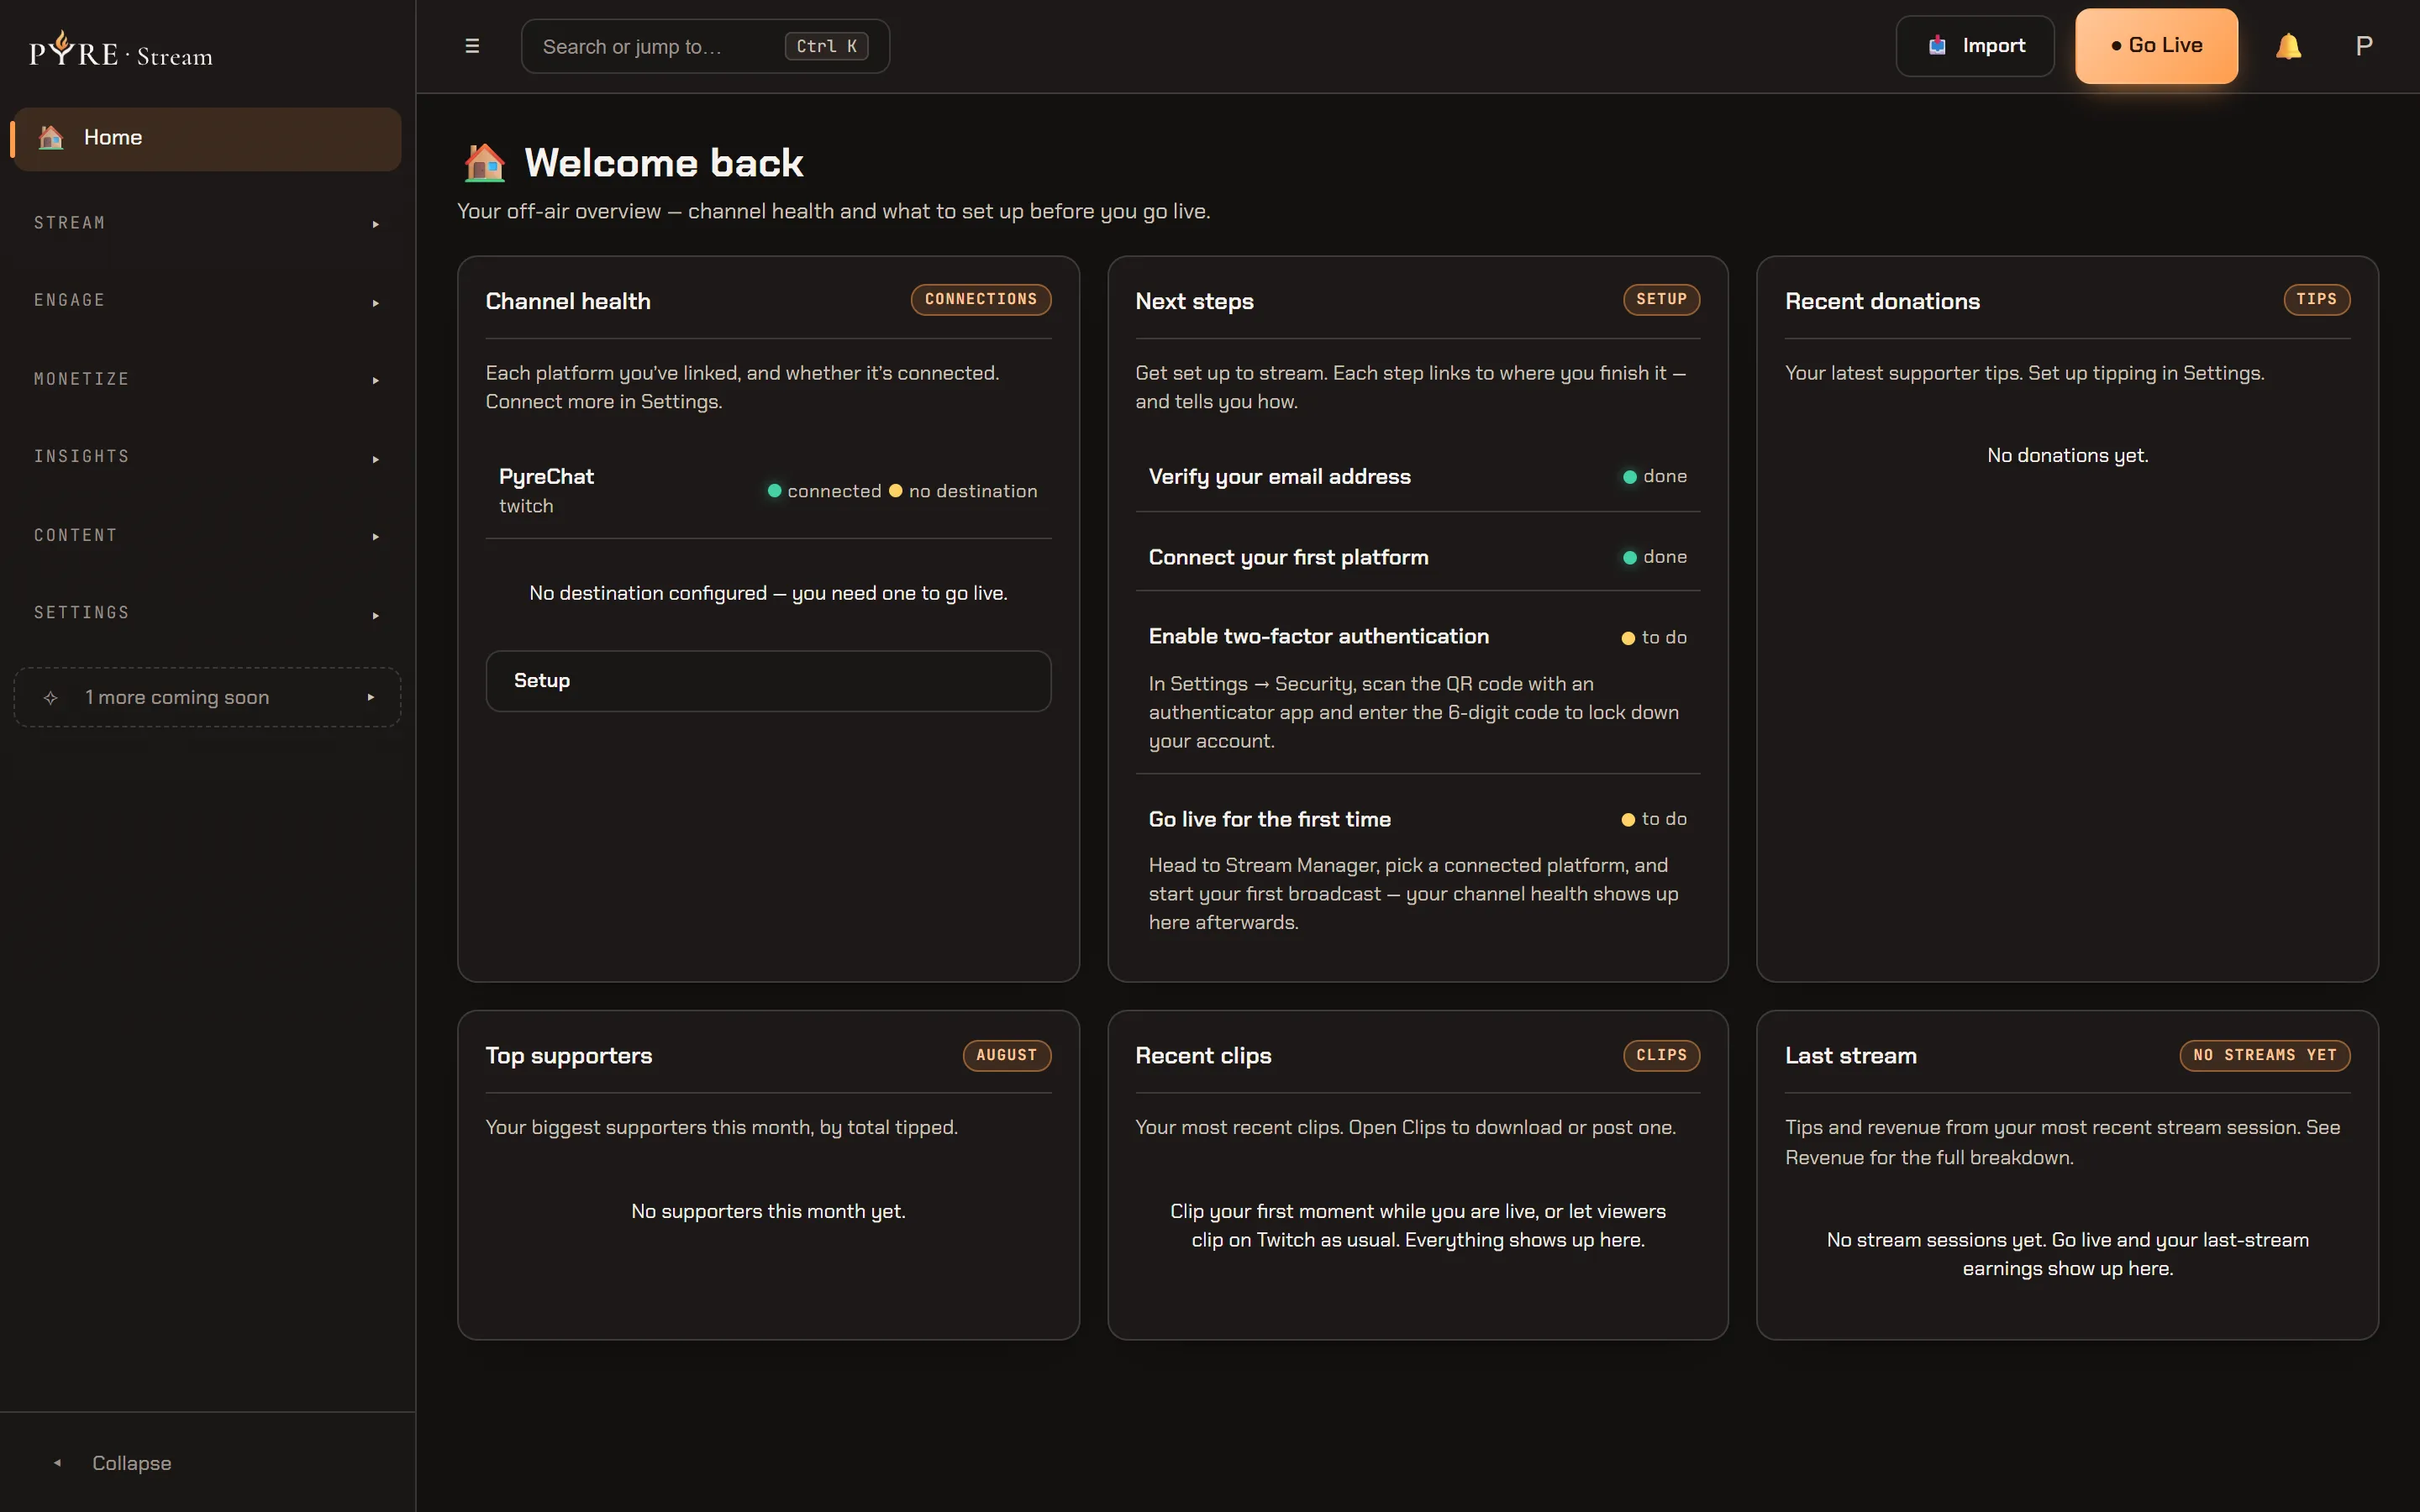
Home is where signing in lands you. It is an off air overview rather than a place you do anything: what is connected, what is left to set up, and what your last stream did.
Before you start
Section titled “Before you start”You need a Pyre account and at least one streaming account (Twitch, YouTube or Kick). You do not need OBS: Pyre can composite your stream itself, from the desktop app or from a cloud studio.
Go live
Section titled “Go live”-
Sign in at pyre.stream.
One login covers Pyre.Stream, Pyre.Chat and Pyre.Bot, so if you already have any Pyre account, use it.
-
Connect a destination.
Open Destinations in the sidebar and connect the platform you stream to. Pyre asks the platform for permission once, and that single sign in covers going live, reading and sending chat, and updating your stream info. Kick needs one extra step, because Kick has no way for an app to fetch a stream key. See Set up your destinations for what each platform grants.
A freshly connected platform is off until you switch it on. Pyre never enables a destination for you.
-
Pick how you broadcast, in Live settings.
Open Stream Manager and find the Live settings card. It is, in its own words, “the single source of truth for your stream mode”, and Studio, the topbar Go Live button and the Quick actions all follow it. Two selects:
- Fan-out, where your stream is copied to each destination: Cloud relay (fan out to all platforms) or Local fan-out (this PC fans out).
- Mobile / compositing, how your program is composed before it goes out: Plain (no compositing), Desktop Studio (this PC composites) or Cloud Studio (GPU pod composites).
A Resolved mode line under them names the mode your pair adds up to. In a browser a fresh account starts on Plain: cloud relay, nothing composited. In the Pyre desktop app the compositing select is not shown at all, because the desktop app always composites in its own managed OBS, so Plain is not offered there and the card asks only about fan-out. The card locks while you are live. Stream modes and Cloud Studio takes each mode apart.
-
Build your picture in Studio.
Open Studio. Its Cloud Studio tab is the scene designer: camera, browser, image and text sources on a canvas, and the active scene drives your studio output live. Its Desktop Studio tab drives the OBS running on your own machine, and is read only in a browser.
This is where a camera, a screen capture or a line of text is added. Both tabs are editors, not mode pickers: what you designed here only goes on air in the mode you chose in step 3. The Studio and your scenes goes further, including importing the scenes you already have in OBS.
-
Open the Stream Manager and go live.
Stream Manager is the cockpit: a Go Live tile, per destination health, your merged chat, and your live stats. Press Go Live and Pyre starts every enabled destination at once.
Where Sources fits
Section titled “Where Sources fits”Sources is not where a camera becomes part of your picture. It manages the inputs themselves: the devices registered to your account, the order Pyre falls back through them, whether each one feeds the studio or goes direct, the QR code that pairs your phone, and custom sources for your own encoder. You go there to add a device to Pyre. You go to Studio to put it on screen. It has its own guide: Sources and devices.
What to read next
Section titled “What to read next”- Stream modes and Cloud Studio for what each mode actually runs, and where.
- Set up your destinations if a platform is not behaving.
- The Stream Manager for what to do while you are live.